
A few years ago, I had taken an interest in knife making. It’s not that I had ever tried to make my own knife or had someone to teach me, but I had found myself fascinated with blacksmithing YouTube channels. During college, I had dreamed of making myself a forge and heat treating oven. Fast forward to March 2022, I found myself the perfect opportunity, albeit a roundabout one, to take the first step…
In March 2022, I decided that I had met the woman that I wanted to marry. The only problem was that I could not just go out and buy an engagement ring. That would be far too simple. Instead, I wanted to make her a gold ring from scratch, but I had neither the equipment nor the experience. Also, I thought that engagement rings were expensive, and when things are expensive, I try to see if I can make them myself first. My goal was to make an engagement ring and our wedding bands, as well as acquire/build the equipment needed, for the same price as a reasonable engagement ring at the store.
In order to make a ring, I first had to obtain a burnout oven for the wax model, and this is where the kiln/heat treating oven comes in. I realized that I could build a burnout oven that can act as a heat treating oven and a kiln! Not only was I doing something special for my soon-to-be wife, but I also had some selfish interest too…
The first step was to learn. I watched many YouTube videos on DIY heat treating ovens, and found this one to be the most helpful. Next, I ordered all of the necessary parts from the internet, including fire bricks, Kanthal A-1 wire, mortar, Auburn ramp PID controller, solid-state relays, etc. Because I wanted my burnout oven to function as a heat treatment oven for knives, I designed the dimensions of the oven to be much longer than what was necessary for a wax casting flask.


The heating elements were the first point of focus. After researching other commercially-available heat treating ovens, I got a feel for the type of power usage, and decided that I wanted my custom oven to be pretty powerful (about 10,000W/sq ft). Using Ohm’s Law and Watt’s Law, I calculated the resistance needed on my Kanthal A-1 wire to produce about 4500W on a 240V circuit. I then used a 2×4 jig, a dowel, and drill to wind the coils to the correct resistance. The dimensions of my oven were also affected by this coil length calculation, as I needed to stretch them about 3x after winding for final assembly. After the coils were wound and stretched, I used a milling machine and some wood bits to route the chamber to hold the coils, allowing them to stretch and contract during heating cycles, but not letting them dangerously fall out of place.


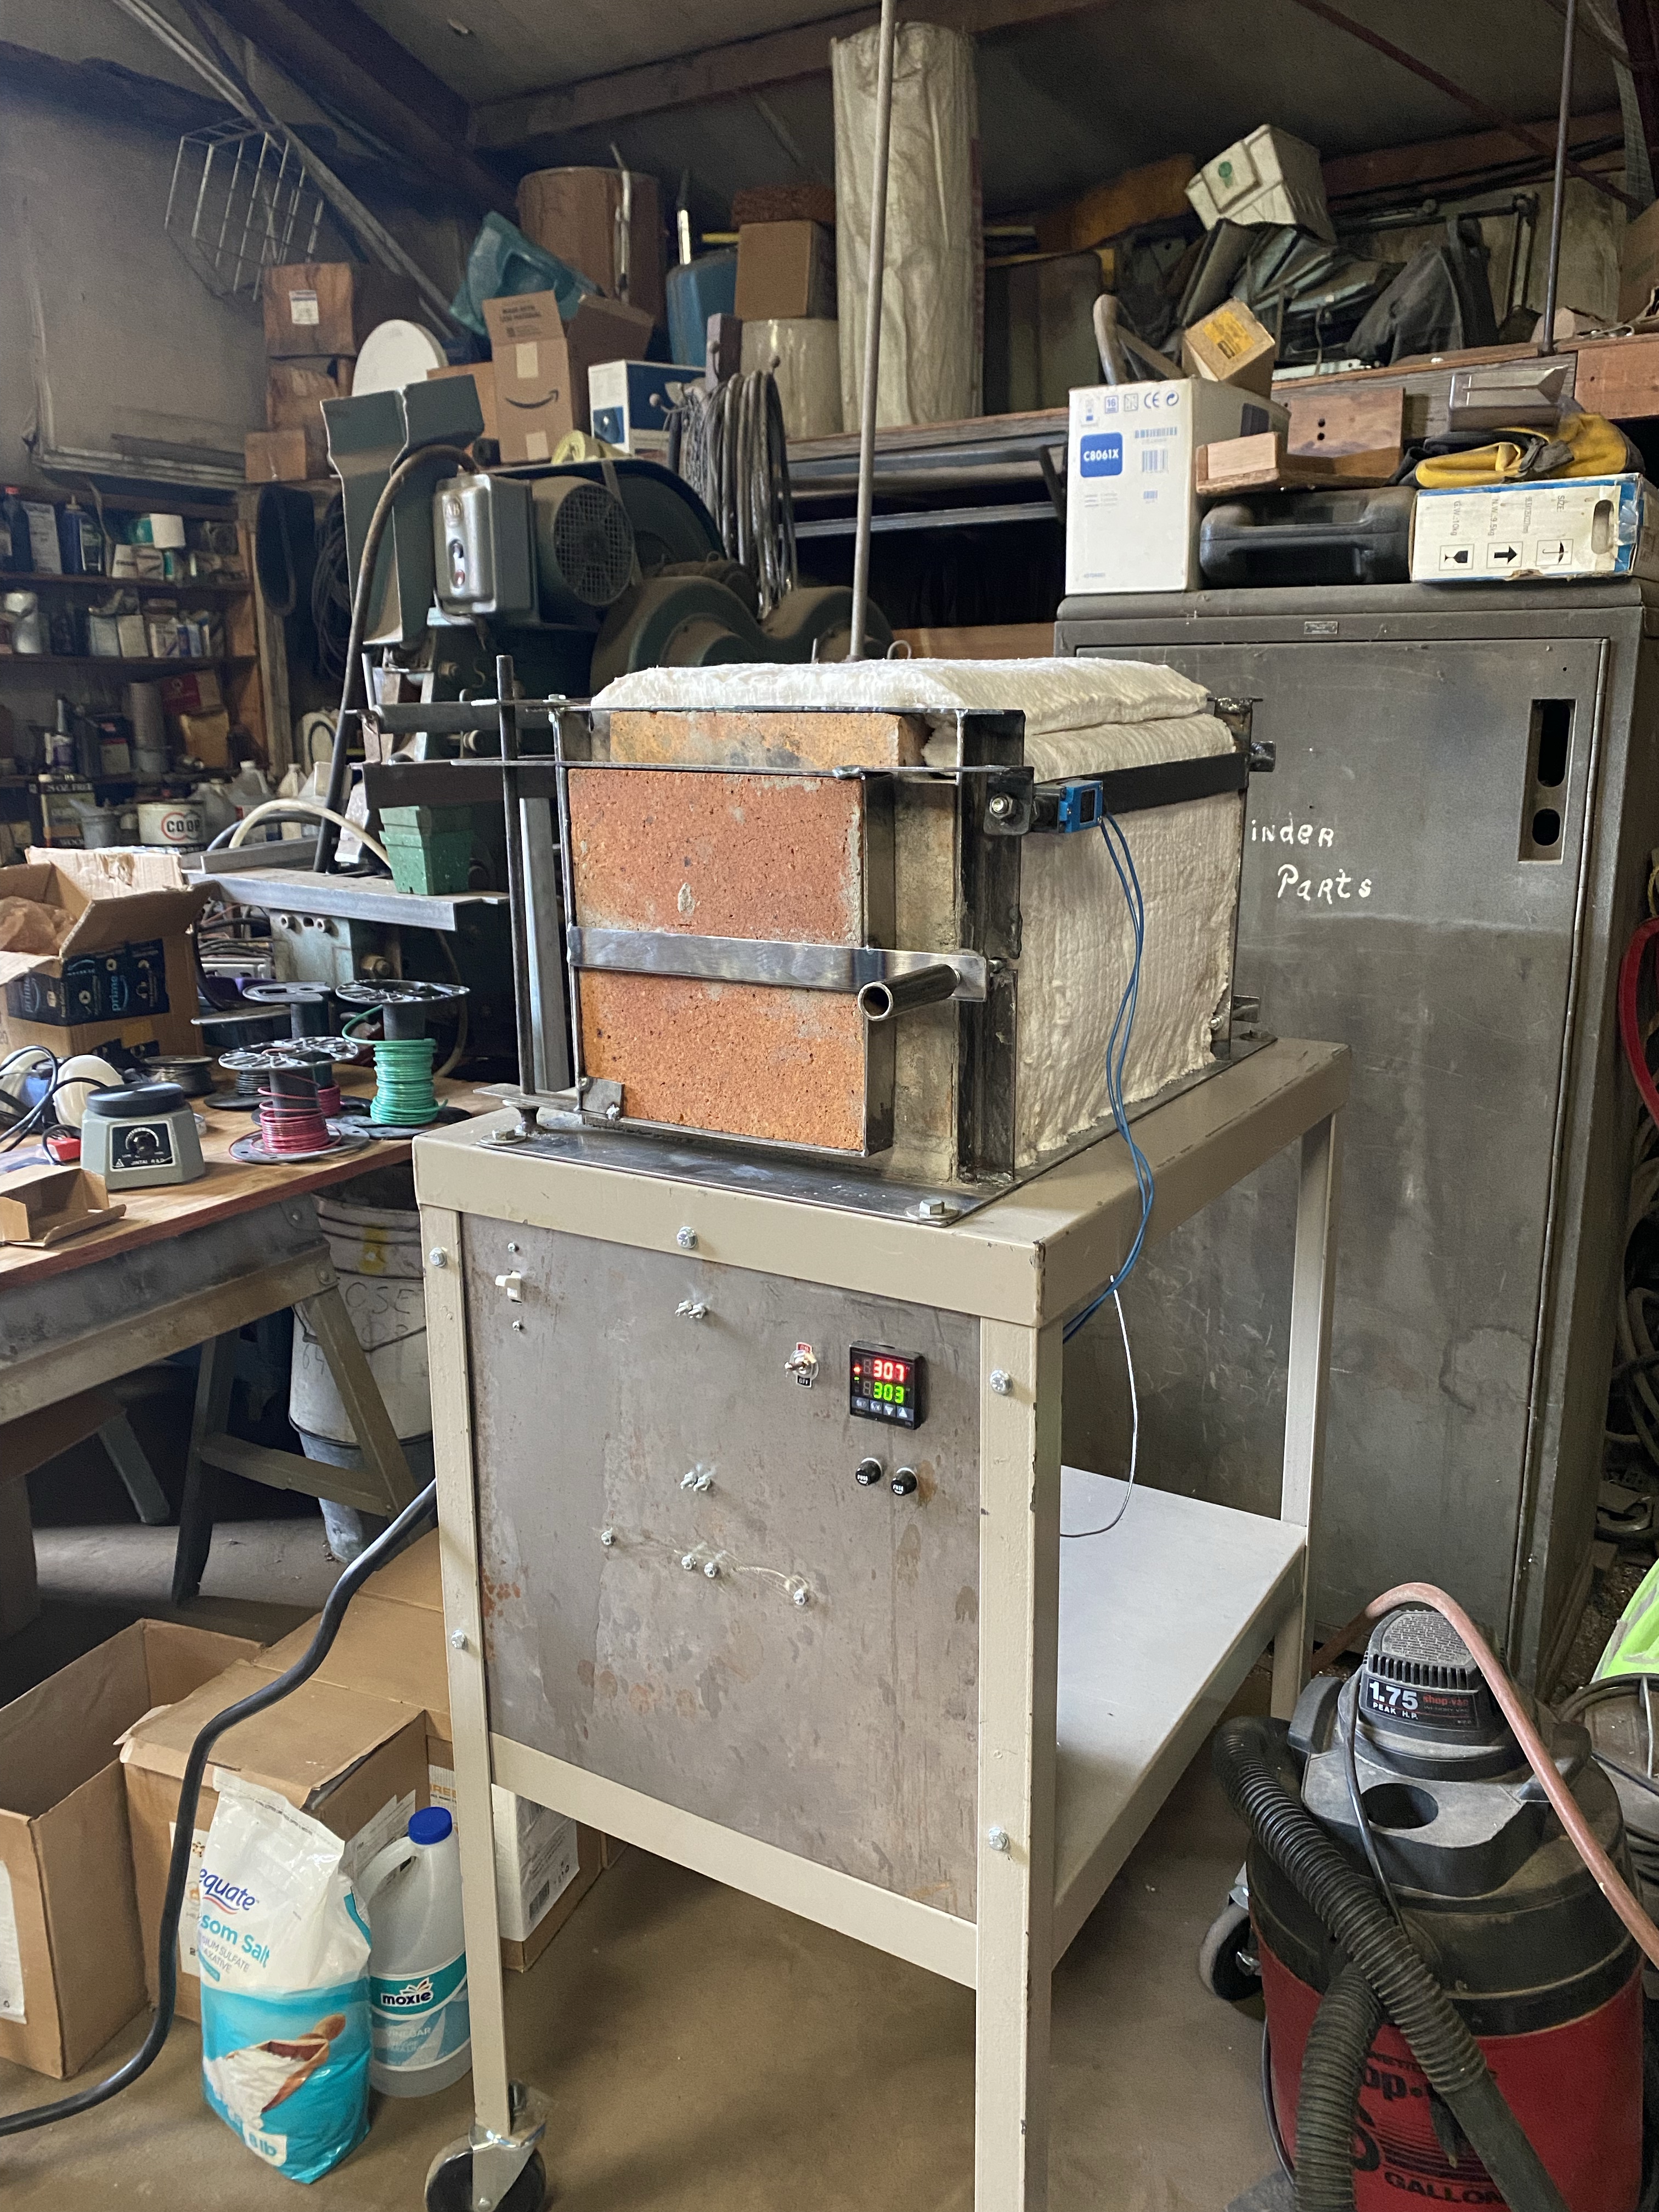
After working out the heating elements, I mortared the fire bricks and assembled them in a frame that I welded from some scrap steel lying around the shop. I chose a hard fire brick for the bottom of the kiln, in hopes of making it more resistant to wear over time. Between the bricks and the lower plate on the metal frame, I used a piece of ceramic wool to add extra insulation for higher efficiency and better oven performance. I used high temperature rope sealant on the square ends of the oven where the door and back piece mount to decrease heat loss inefficiencies. The back of the oven is removable, and that is necessary to change out the heating coils (heating coils are considered disposable and need to be changed every few years or so). The back of the oven has a thermocouple in the center that hooks to the PID controller for feedback control.


Finally, it came time to install the electronics. After mounting the oven assembly on a metal cart, I wired 240V to a master on-off switch. This turns on the PID controller and allows the user to set oven parameters. The heating elements are attached to two solid-state relays (SSRs) controlled by the PID controller. The SSRs supply the heating elements with the full 240V when the controller specifies. The heating elements, however, do not receive any power unless an element switch is on (connected on the front panel of the oven) and the door is closed (activating a limit switch). The front element switch is installed to ensure that the heating elements do not turn on when the master switch is turned on. A fan, pointed at the SSRs, was wired with the element switch, so that when the SSRs can be activated, they are actively air-cooled to prevent overheating (which was unlikely to be a problem, but the air circulation helps SSR lifespan). The door’s limit switch (blue) is installed to ensure that when the door is open, the coils are not energized.


After turning on and testing the oven, I discovered that an extra layer of ceramic wool around the oven would help insulate the oven. I found that the oven had developed a small crack, most likely due to moisture and the large temperature gradient from the ambient air outside the oven to the hot interior. After adding the remainder of my ceramic wool and ramping/holding temperature for an extended period of time, no further cracks were observed. This oven should be rated to 2300 degrees Fahrenheit, but that is far above the 1350 degrees necessary for the wax burnout cycle to make an engagement ring. Overall, it was a satisfyingly successful project, but it was only the first step to making a ring…

1 thoughts on “Making a 4500W (240V) Electric Kiln”
Comments are closed.